Tuesday, November 22, 2011

A couple of fun little toots


This week this from my Scrapdango October reveal, featuring Little Yellow Bicycle Hello Fall, and some Jillibean Soup accents, is featured as the Facebook Profile pic over at Creating Keepsakes Facebook page.
Also, I don't think I ever shared these pages that I created a couple months ago. They were published in Scrapbook News and Review, so I couldn't share them. But now I can! These feature the Happy Camper collection from Imaginisce. These pictures are from our camping trip to Assateague Island. That reminds me, I never scrapped the photos of the wild horses. Will have to add that to my to-do list!

Saturday, November 19, 2011

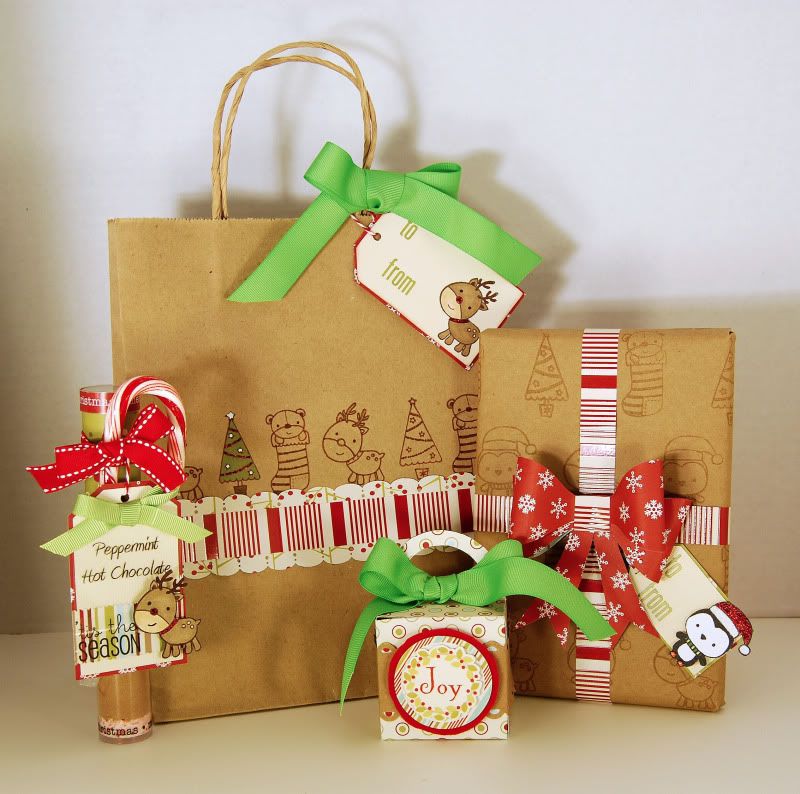
Stamped Gift Set featuring Imaginisce and SRM

A couple of days ago I shared a stamping tutorial and promised some more ways to use those techniques. Embossing, glossy accents, crackle accents, flock, glitter and stickles can be combined with stamps to add that extra special touch. In the tutorial I used the stamps on cards and can I just say - wow my card making has come a long way in a year! The techniques are still useful though and here I used them on tags, a gift box, wrapping paper and gift wrap.

The gift box is from a printable template from Wendy Bird Designs at A Cherry On Top. These templates are awesome because they are so easy to use. You don't need any special software, just print them on the back side of the paper that you want to use, cut them out and fold on the fold lines. You can also add digital papers and print them out hybrid. Here I printed on the back of the Imaginisce Jingle All the Way paper, then added some punched kraft paper, a layered sticker accent and some ribbon.

For the gift bag, I stamped a row of images with versamark ink. Then it wasnt dark enough for me, so I traced them with a fine brown pen. I colored in the one tree, just for interest, before adding the strip of papers and tying the top closed with a bow. The tag on this one has a reindeer with stickles on his nose and collar.

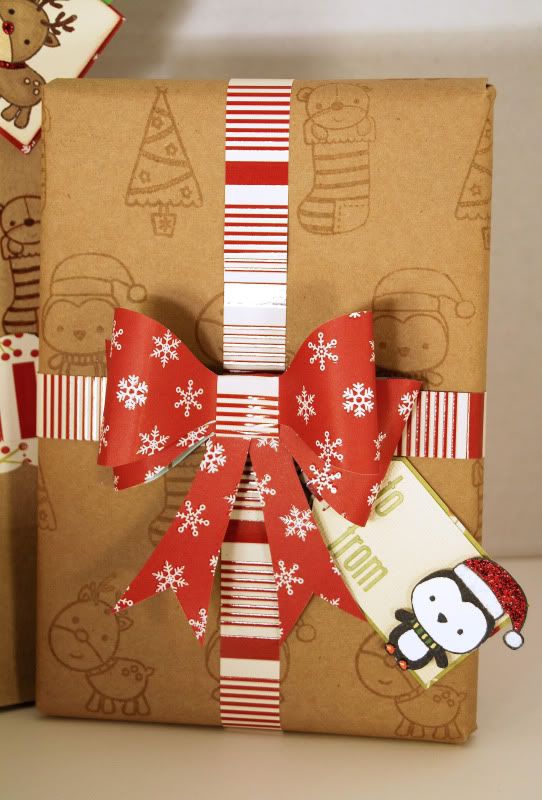
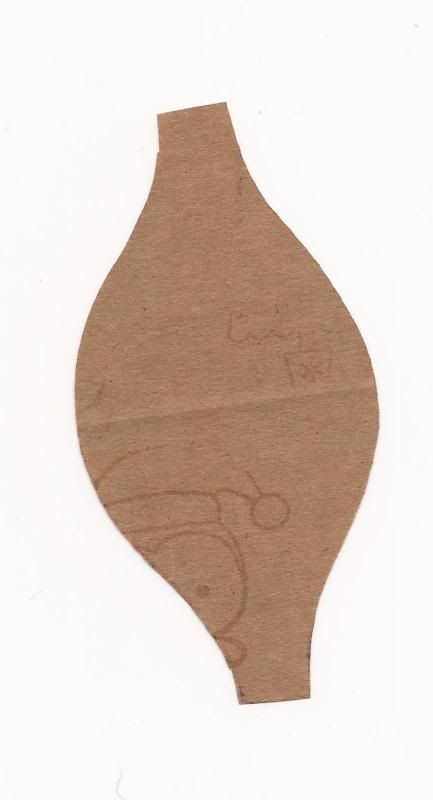
For the wrapping paper, I spread out the kraft wrapping paper and stamped the adorable little critters using versamark ink for a subtle effect. To make it easier, I arranged the 4 stamps on a large block, so I stamped all four at a time, and needed to repeat the pattern less often. Next I added some paper strips and a paper bow - who needs ribbon?! For the bow, I made a template for the loops, which you can see below. Then I copied it four times, and used glue dots to hold each loop together, and the two on each side to each other. Finally I used a strip of a contrasting paper to wrap around and hold all the loops together. The tails of the bow were just freehanded on some scrap paper. I used foam tape to adhere the bow to the package so that the bow didn't get too squished.

The penguin was stamped on white cardstock, then colored in. I then added stickles, glitter flock and glossy accents before fussy cutting it. I used more foam tape to adhere it to the tag. All the tags were cut with my Cricut. The letters are Lily Bee.
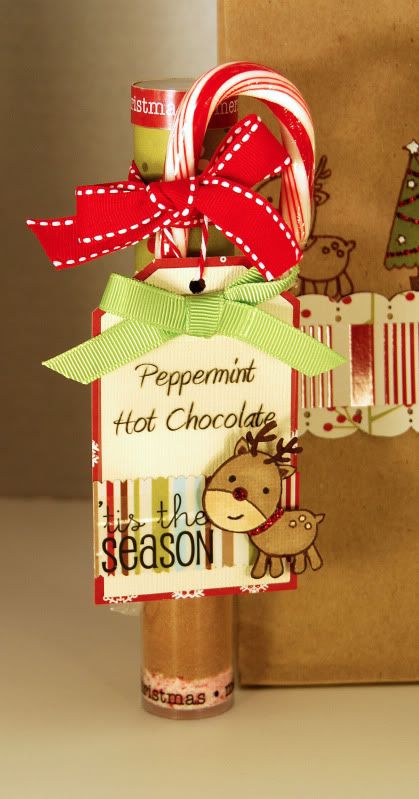
Last but not least, the tube is from SRM stickers. I filled it with layers of hot chocolate mix and crushed peppermint candies. I added some paper strips to the top, and stickers to the bottom and top. Then I added a candy cane and a ribbon, before tying on a tag. The tag features another SRM sticker, and a fussy cut Imaginisce stamped reindeer with a stickled nose and collar. Instructions are on the back of the tag.
Finally, here is the petal template for the bow. Yes, you can see the corner of a penguin stamp, this was a scrap that I had tested the stamp on, but all you really need is the outline.
Thursday, November 17, 2011

Washi tape card in Create gallery

I am featured in the Cards magazine Create blog challenge gallery this week. I love doing these challenges. Who am I kidding, I love doing pretty much all challenges. However, I was stumped for a while on this washi tape challenge, then last night an idea just came to me!

I covered some cardstock in strips of washi tape and then die cut it to form the base of the label.
For the background, I embossed the cardstock, then swiped a versamark watermark ink pad over the embossing. I think next time I will try the clearsnap stylus because it was tough to apply from the larger ink pad.

Patterned paper, and rose brad(but I pulled the brad part off): American Crafts
Cardstock: Bazzill
Sticker: SRM
Ribbon: May Arts
Leaves: Prima
Pink paislee artisan tape
Embossing folder: sizzix

Christmas card stamping tutorial redux


I've been working on a set of holiday gift items - gift bag, SRM tube, small package, and tags - featuring some fun stamping techniques. I can't wait to share it with you! But in the mean time I thought it might be fun to pull up this Christmas card stamping class that I created last year. The embossing, glitter, glossy accents, crackly accents, flocking, coloring, and micro-bead techniques that I detailed in that class will come in handy when you see the tag and gift set that I created this year.

Here is just one of the images from the tutorial, showing how to use glossy accents and microbeads on this adorable gnome Santa's beard. I just love the effect, don't you? You can see the whole tutorial HERE. So, brush up on these techniques, because this weekend I will show you some 'off the card' ideas for them!

Wednesday, November 16, 2011

Scrapdango November Sugar Kit Reveal

The DT kit reveals are up at Scrapdango. You can see the rest of my reveal HERE. You can find the rest of the team members reveals along with other kit info HERE. And last but certainly not least, check out all the new challenges in the challenge forum.

For this page I used the MME paper and some Glitz from the kit along with some SRM stickers that I had in my stash, and the Bella Blvd alphas from the kit, to make a simple, but stunning page. I love how the glitter compliments the glow from the candles in the photo.


Wednesday, November 9, 2011

graphic 45 and clearsnap card

Today I posted on the scrapstreet blog about this card. If you want to read more about the techniques that I used on this card, check it out on the scrapstreet blog.I made this card using mostly Graphic 45 papers and clearsnap products - smooch spritz, cat eye inks, and design adhesives, for their respective challenges. This is also for the paper issues current issue - check it out HERE

Wednesday, November 2, 2011

Another Balance tutorial Layout that was Soup Spotted!

This is a page that I created for the ACOT balance tutorial - showing radial balance. I used Jillibean Soup Sweet and Sour soup (LOVE this collection) and it was featured on the Jillibean Soup blog today as part of soup spotting!

Tuesday, November 1, 2011

Quick Halloween Recap

Yes, Ive been doing more non scrappy posts lately - with Ellie's birthday and Halloween things have just been crazy busy! BUT I have been working on a few scrappy things, just can't share them yet. So, here is a quick halloween recap

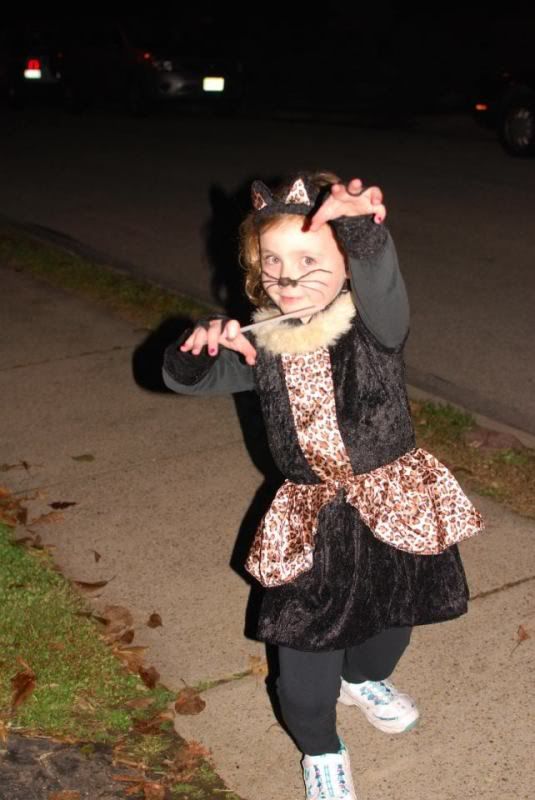
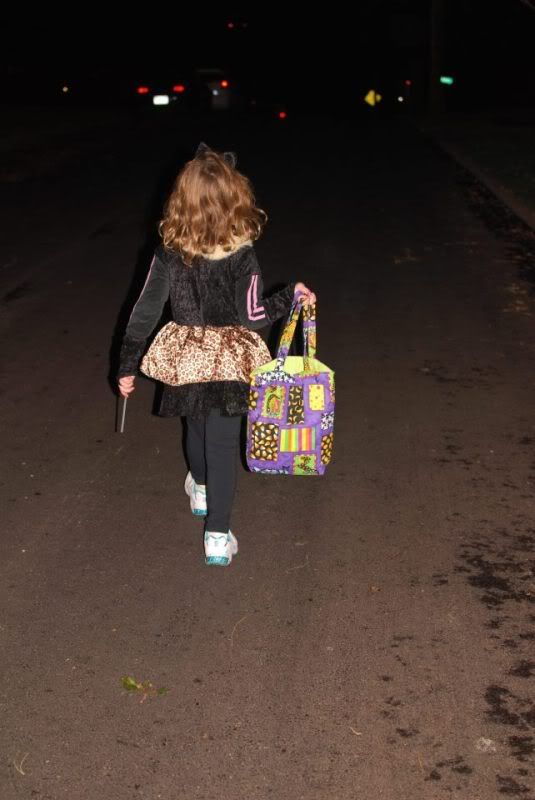
Our street is usually pretty quiet. In the past it hasn't bothered me, she was little and I was happy to hit the few houses that give out candy on our street, talk to some neighbors and head home. But this year she was SO into Halloween that I wanted her to have a trick-or-treat experience similar to what I had as a kid - tons of candy, tons of houses, tons of kids.

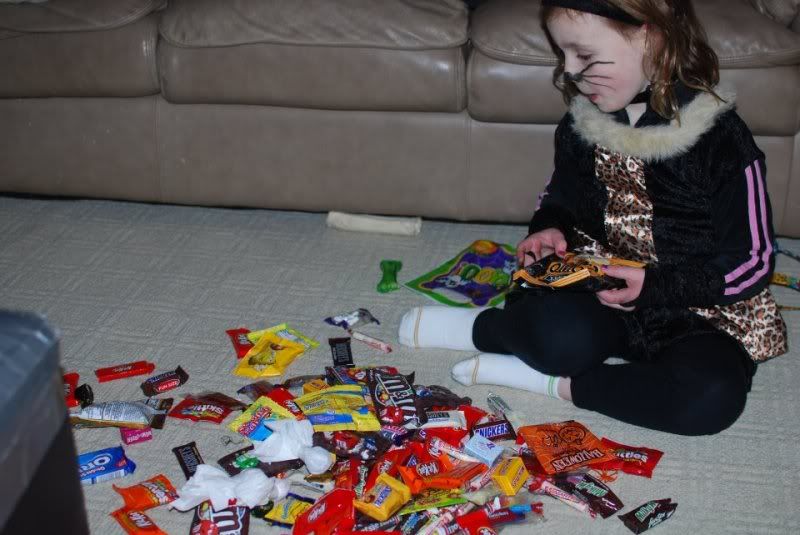
Except, people just don't seem to into it anymore. We decided to head around the block and found that on the next street over, where the houses are closer together, it was more what I was looking for. She DID get a ton of candy. She takes her time though. She socializes, chooses her candy carefully, asks to pet dogs. So we ended up having to skip a lot of houses. and she was running from house to house and didnt want me to take her picture. So I only got a couple half decent ones.
Again, straight out of the camera.