Welcome to the 2nd Annual Handmade Holidays Blog Hop!!!

Calling all crafters! We’ve gathered designers from some of our favorite manufacturers to show you ways to create something from the heart this holiday season. This 3 day Hop includes over 60 stops with inspiration brimming from every corner. Explore all of the thoughtful and frugal handmade gifts you could create for the holidays, all in one place, during our second annual Handmade Holidays Blog Hop!
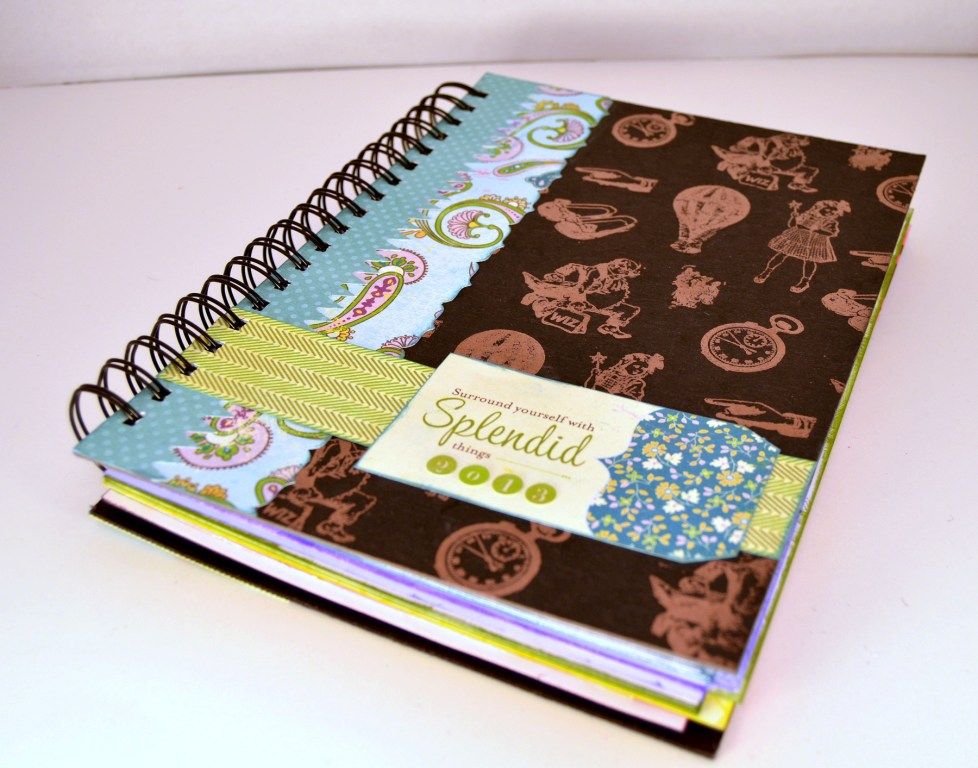
Almost exactly a year ago (wow has it really been that long?!), I bought a Smash book and converted it into a planner. I love how free-form and fun it is. I sectioned it off to create room for all my scrap stuff and my calendars and lists. I am still using it and loving it, but it's running out of pages. I thought about buying another one, but there are a few things that I don't love about it. There aren't enough pages and while I love the pretty patterned papers, they aren't really practical for making lists and writing notes. I wanted something pretty and free form, without lines, that I could section off for myself. So, I came up with the idea to make one and since it's such a fun easy and useful project, it makes a great gift at this time of year!
Who wouldn't love a planner/art journal/etc that they can customize to fit their own needs?
I love the size of the Smash book - big enough to be useful and have room for everything, but not so big as to be unwieldy to carry around every day. So, I designed this book to be the same size. I used black chipboard for the covers and cut them to 10.5x7.5 inches
I bought a cheap sketch book with 50lb paper in it and used that for my pages because I like the thicker pages, but didn't want to add too much bulk or cost with REALLY thick cardstock pages.
I printed 14 blank calendar pages and interleaved them with one blank page, so that I have a lot of space for my monthly notes and lists.
Click HERE to download the pdf of the calendar pages so you can print your own.
Then I made 5 more sections of about 25 sheets each.
I cut all the pages (blank and calendar) to 10x7 inches. Then I used some Bazzill Cardstock for my divider pages and cut those to 10x7.25 inches - so they would be just a little bit wider than the pages and stick out to make them easy to find.
Here's what my blank pages and calendar pages and covers looked like when I was finished with that.
Now to add some pizzazz!
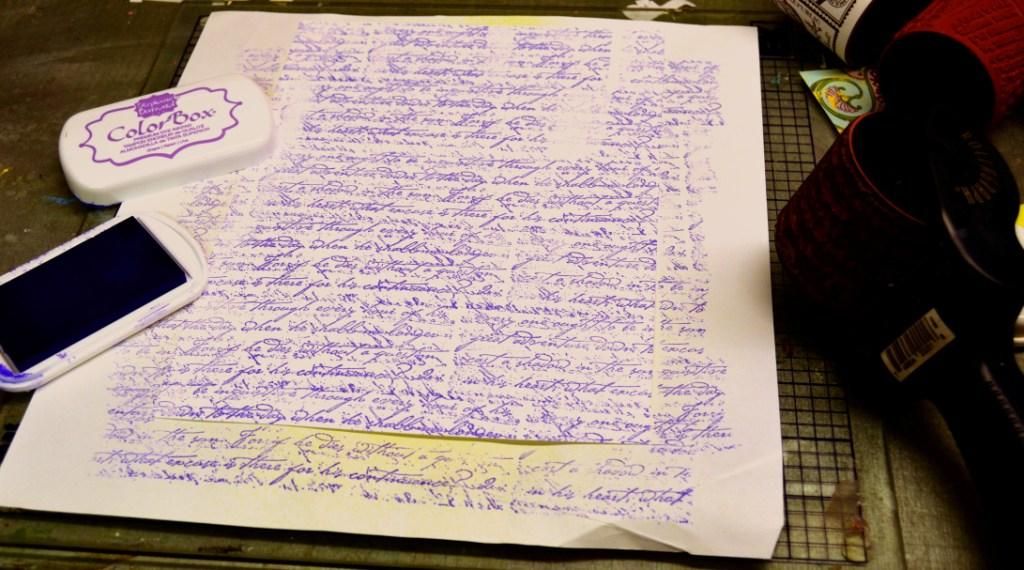
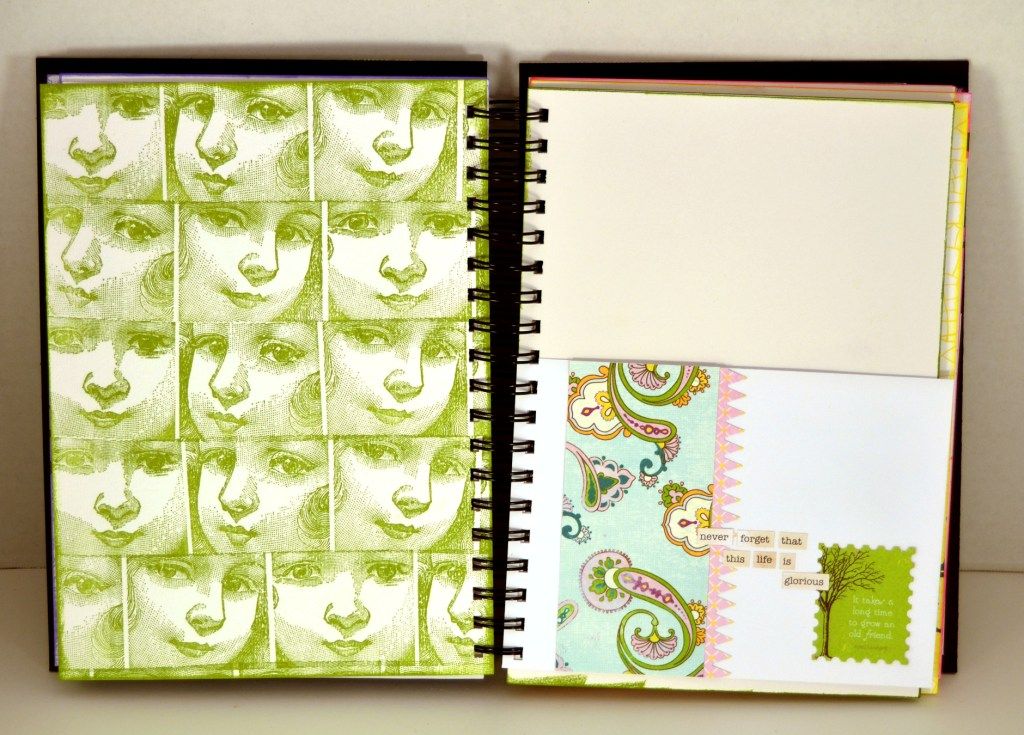
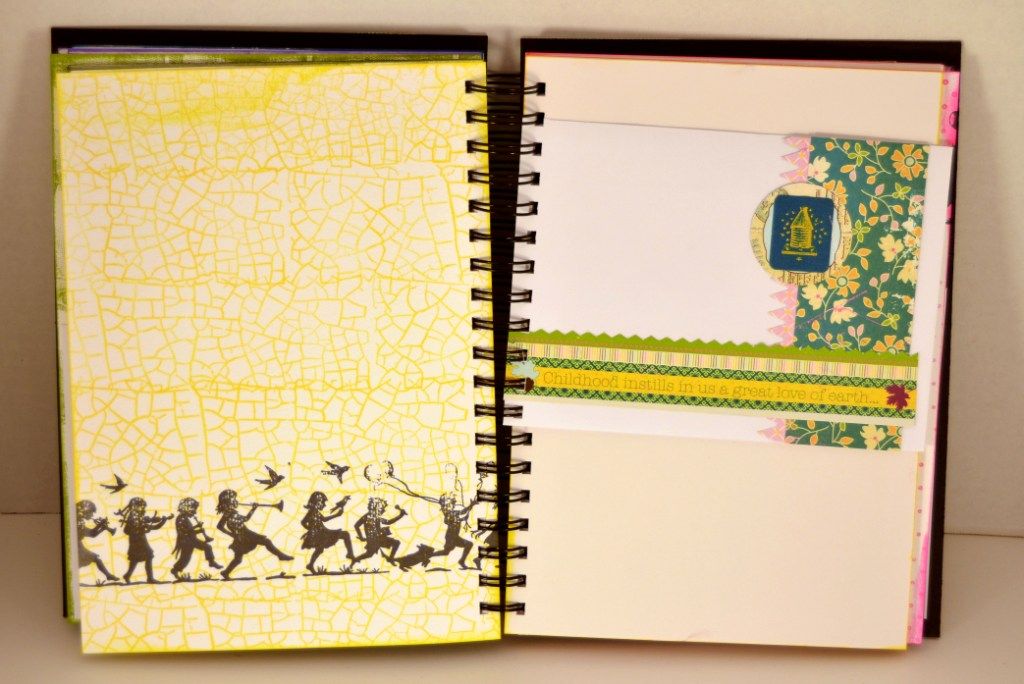
Let's start with the divider pages! I chose 6 different colors of Stephanie Barnard Dye ink that loosely coordinate with the Authentique papers that I planned to use. Then I grabbed my rollograph and used it to create some brightly patterned papers.
The finishing touches include inking the edges liberally and one more rollograph application of the children playing in black chalk ink on the lighter colored pages.
If you don't have 6 different colors of ink, you could use 2 or 3 and alternate them. Also, if you don't have a bunch of different rollograph cartridges, you could use the same one in different colors, or even use regular stamps. I like the rollograph for a project like this because it's just so easy! The dye ink dries almost instantly, so I just flipped the pages over and did the same thing on the other side.

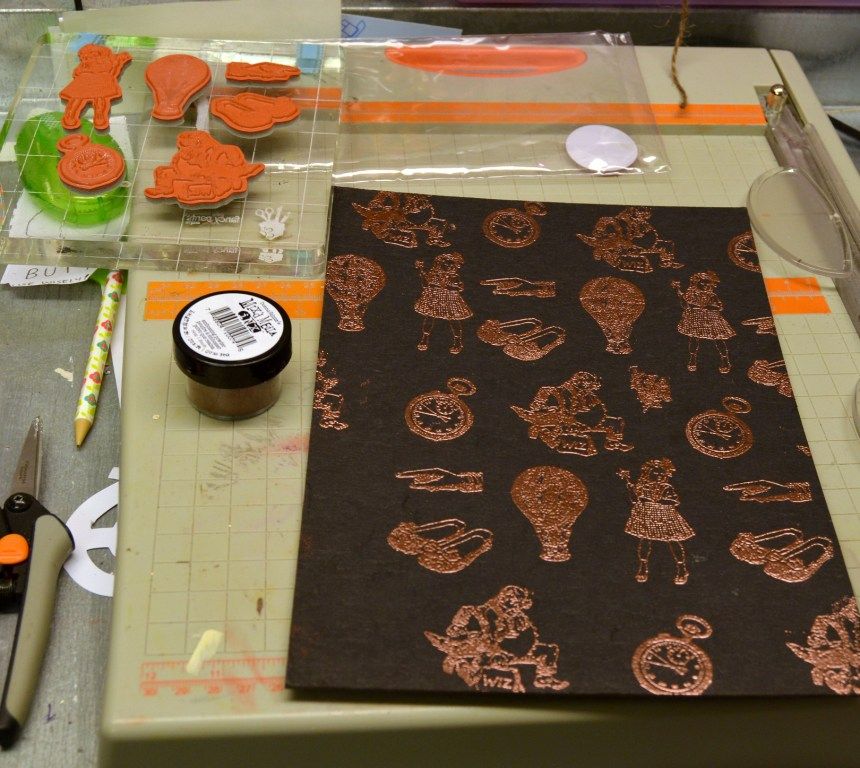
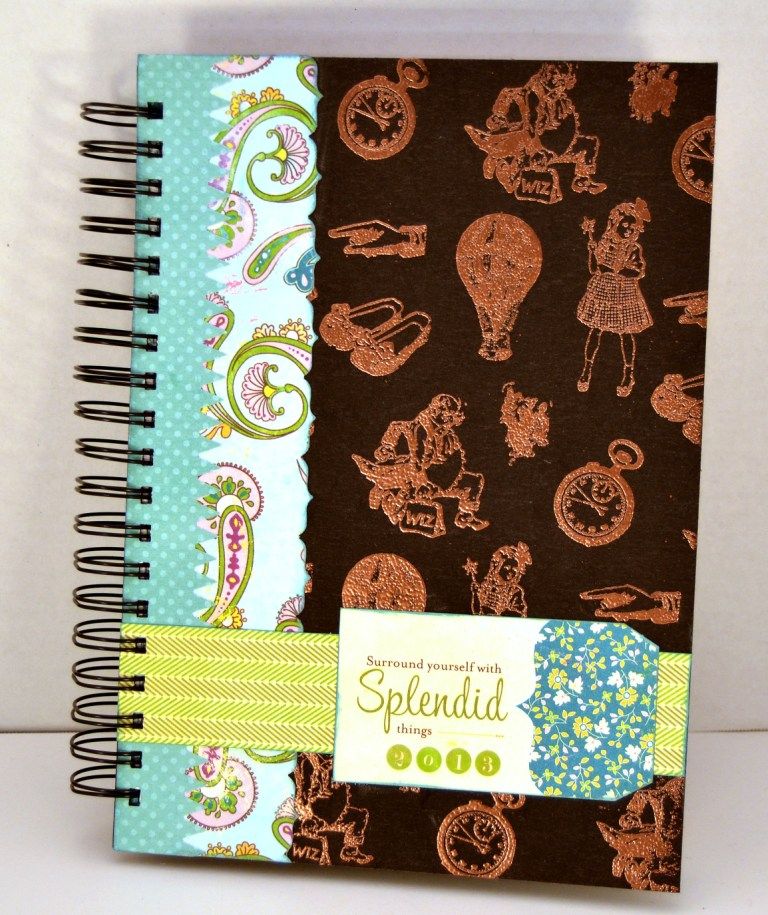
For the cover, I wanted to keep it flat so that it can stand up to daily use without suffering too much. Since I started with black chipboard, I decided to capitalize on that and emboss right on it instead of covering it with paper first. I used mostly Graphic 45 Hampton Art stamps with a few 7 Gypsies Hampton Art stamps. I arranged the stamps on my block in a pattern, so that I didn't have to stamp each one individually, then I inked them up with Top Boss embossing ink. Then I heat embossed with the Donna Salazar mixd media inx embossing powder in Leather. I just love how this powder turns out with a little sheen too it!
I finished the cover up with some Authentique paper and Bo Bunny cardstock that was punched with some Fiskars border punches - including the new-to-me interchangeable cartridge one that is SO MUCH FUN! I also used an Authentique die cut tag and stickers for the year. I inked the edges of the papers with some color box pigment ink in sapphire silk.
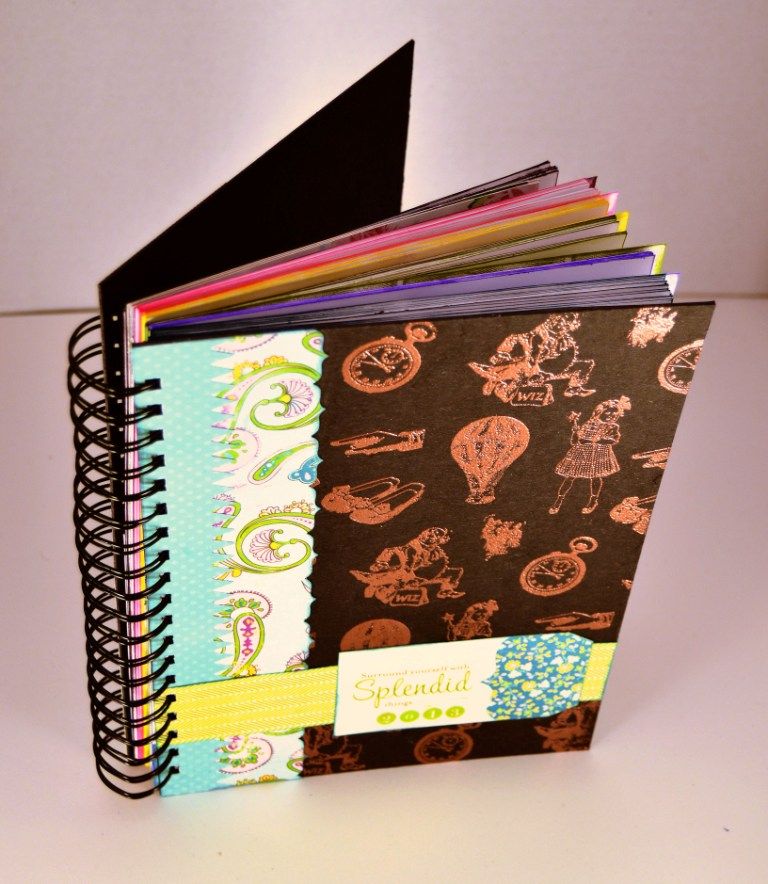
For just a little bit more fun, I inked the edges of the stacks of paper with the colors that correspond to the dividers. Note: DAB the ink pad on the edges of the paper stack, don't run it along. Learn from my mistake and don't ruin your ink pad! In my haste to ink the edges faster, I ended up taking a chunk out of my ink pad. Oops! Dabbing the ink pad onto the paper edge works just fine though.
I also added a few pages from my old Smash book that were unused. Feel free to throw in a few patterned papers for fun.
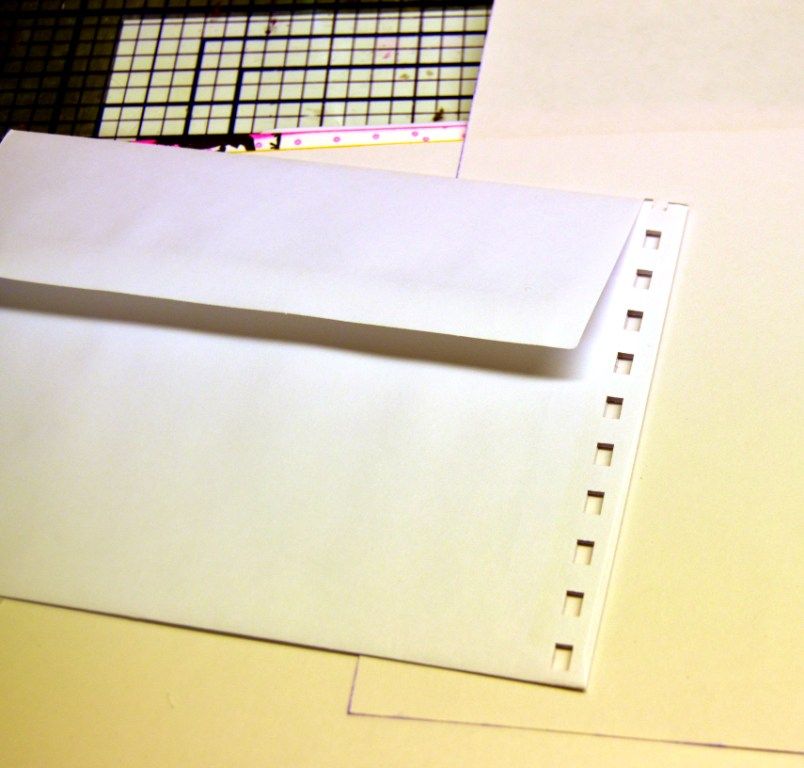
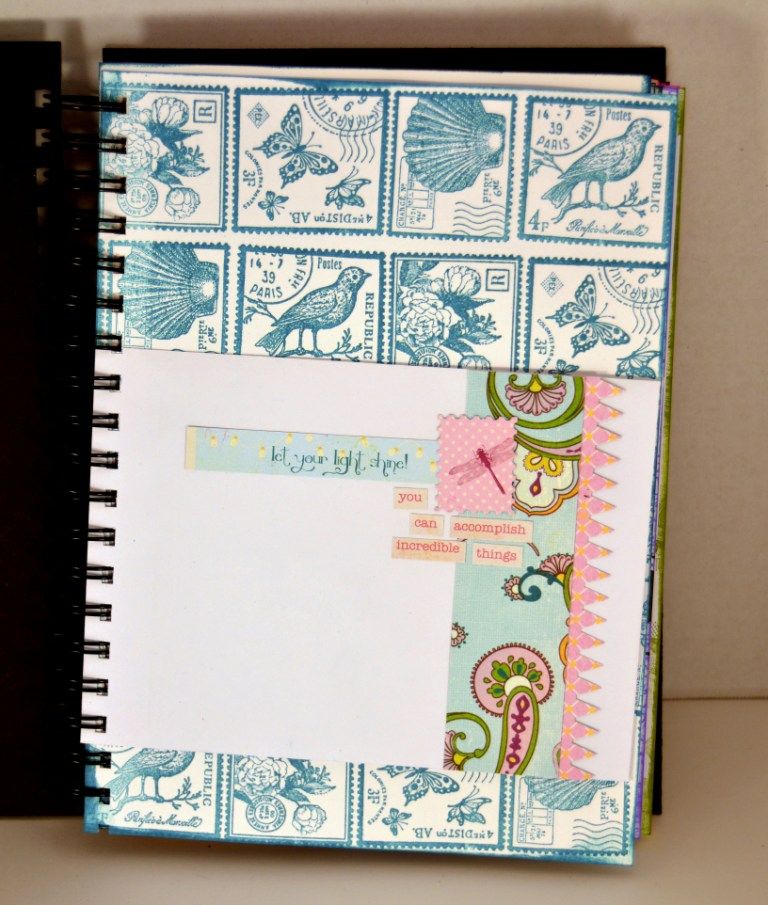
I also added some envelopes. They are just plain invitation sized envelopes that happened to be almost exactly 7.25 inches wide. After punching them with my bind it all, I trimmed the punched edge of the flap, so that the flap doesn't get bound, and will still open.
This is what the top looks like after the edges of the paper were inked. Isn't that pretty?!
I also added some Authentique details to the envelopes for a little more fun.
Clearsnap Supplies
Cat's Eye Pigment ink in Sapphire Silk
Stephanie Barnard Dye ink in Banana, Cornflower, Plum, Grape, Artichoke, and Fairy Pink
Color Box chalk ink in blackbird
Donna Salazar mixd media inx embossing powder in Leather
Top Boss embossing ink
Rollagraph Jumbo stamp wheel in Crackle, Doll Faces, Wordswords
Blog Hop Participant supplies
TomBow Adhesives
Fiskars Punches
Authentique papers, die cuts and stickers
Graphic 45 Hampton Art stamps
Other Supplies
50lb paper
Black chipboard
Zutter Bind it all and wire
Below is the line-up for today. You should have arrived here from Gretchen's blog. If not, you might want to go back and start from the beginning so you don't miss any inspiration or chances for prizes! Also, if you missed yesterday be sure to check out those posts also, which you can find on the Clearsnap blog post from yesterday. Now, it's on to Tania Willis!!!
But don't miss my GIVEAWAY below
Clearsnap – http://clearsnap.blogspot.com/
Hampton Art - http://blog.hamptonart.com/
Graphic45 – http://g45papers.typepad.com/
Fiskateers - www.fiskateers.com/blog
Donna Salazar
Designs – http://donnasalazar.typepad.com/
Tombow USA – http://blog.tombowusa.com/
Authentique Paper http://authentiquepaper.blogspot.com/
The Twinery - http://www.thetwineryblog.com/
Eileen Hull for
Sizzix http://eileenhull.blogspot.com/
Globecraft Memories
– http://globecraftmemories.blogspot.com/
Diana Gonzalez –
Clearsnap – http:// www.arteypoemas.com
Monika Wright – The
Twinery - http://www.iloveitallwithmonikawright.com/
Gretchen McElveen -
Hampton Art - http://gretchenmac.blogspot.com/
Megan Aaron –
Clearsnap- http://thoughtsoftraveling.blogspot.com/ YOU ARE HERE
Tania Willis –
Fiskateers- http://throughtrialsiambeingpurified.blogspot.com/
Gloria Stengel –
Graphic 45 - http://www.gloriascraps.blogspot.com/
Suzanne Austin –
Clearsnap - http://whatsinalousyananut.blogspot.com/
Shellye McDaniel –
Authentique Paper - http://paperedcottage.blogspot.com/
Natasha Naranjo
Aguirre – Donna Salazar Designs - http://www.moments-of-tranquility.com/
Jen Carter – The
Twinery - http://jensinkspot.blogspot.com/
Laura Denison –
Graphic 45 - www.lauradenisondesigns.com
Candy Spiegel –
Globecraft Memories - http://candyspiegel.wordpress.com/
To sweeten the Hop, we’re offering a gift for you! For every comment you leave on the blogs in the Hop, you’ll be entered to win a prize pack from one of the participating manufacturer sponsors! Use the Rafflecopter widget on the Clearsnap blog to gain extra entries each day: http://clearsnap.blogspot.com
Visit the list of blogs below and leave a comment on each by Nov 27, 2011 at 11:59 PM PST. Each day we will be sharing a brand new list of blogs with brand new projects for you to explore, be inspired by, and create from!
Here's the Clearsnap prize pack---that's over $100 worth of swag!!!
And here is my own
Giveaway!!!
Today I am giving away a $10 Gift Certificate to
All you have to do to enter is
1. Become a follower (or already be one)
2. Leave me a comment
3. Make sure to leave your email address in your comment, or have it in your blogger profile so I can contact you, and/or come back next week to see if you've won!
 Becky Dunham said...


